
Installing FMX on Windows
When to Use
- First-time installation of FMX on a Windows PC
- Reinstalling FMX on the same machine
- Upgrading FMX to a newer version using the latest installer
Requirements
- Windows 10 or Windows 11 (64-bit)
- Local admin rights (recommended; may be required depending on your PC policies)
- Internet access (required for login and syncing events)
- An active Foto Master Cloud account with at least one FMX for Windows license
Step 1 — Download FMX
- Log in to cloud.fotomaster.com
- Go to Account → Licenses
- Click FMX for Windows to download the installer — you will receive a ZIP file containing FMX-Setup.exe
Step 2 — Extract the ZIP
- Right-click the downloaded ZIP → Extract All…
- Extract to a simple local path such as
C:\Downloads\FMX
Note: If Windows blocks the ZIP, right-click it → Properties → check Unblock → Apply, then extract again.
Step 3 — Run the Installer
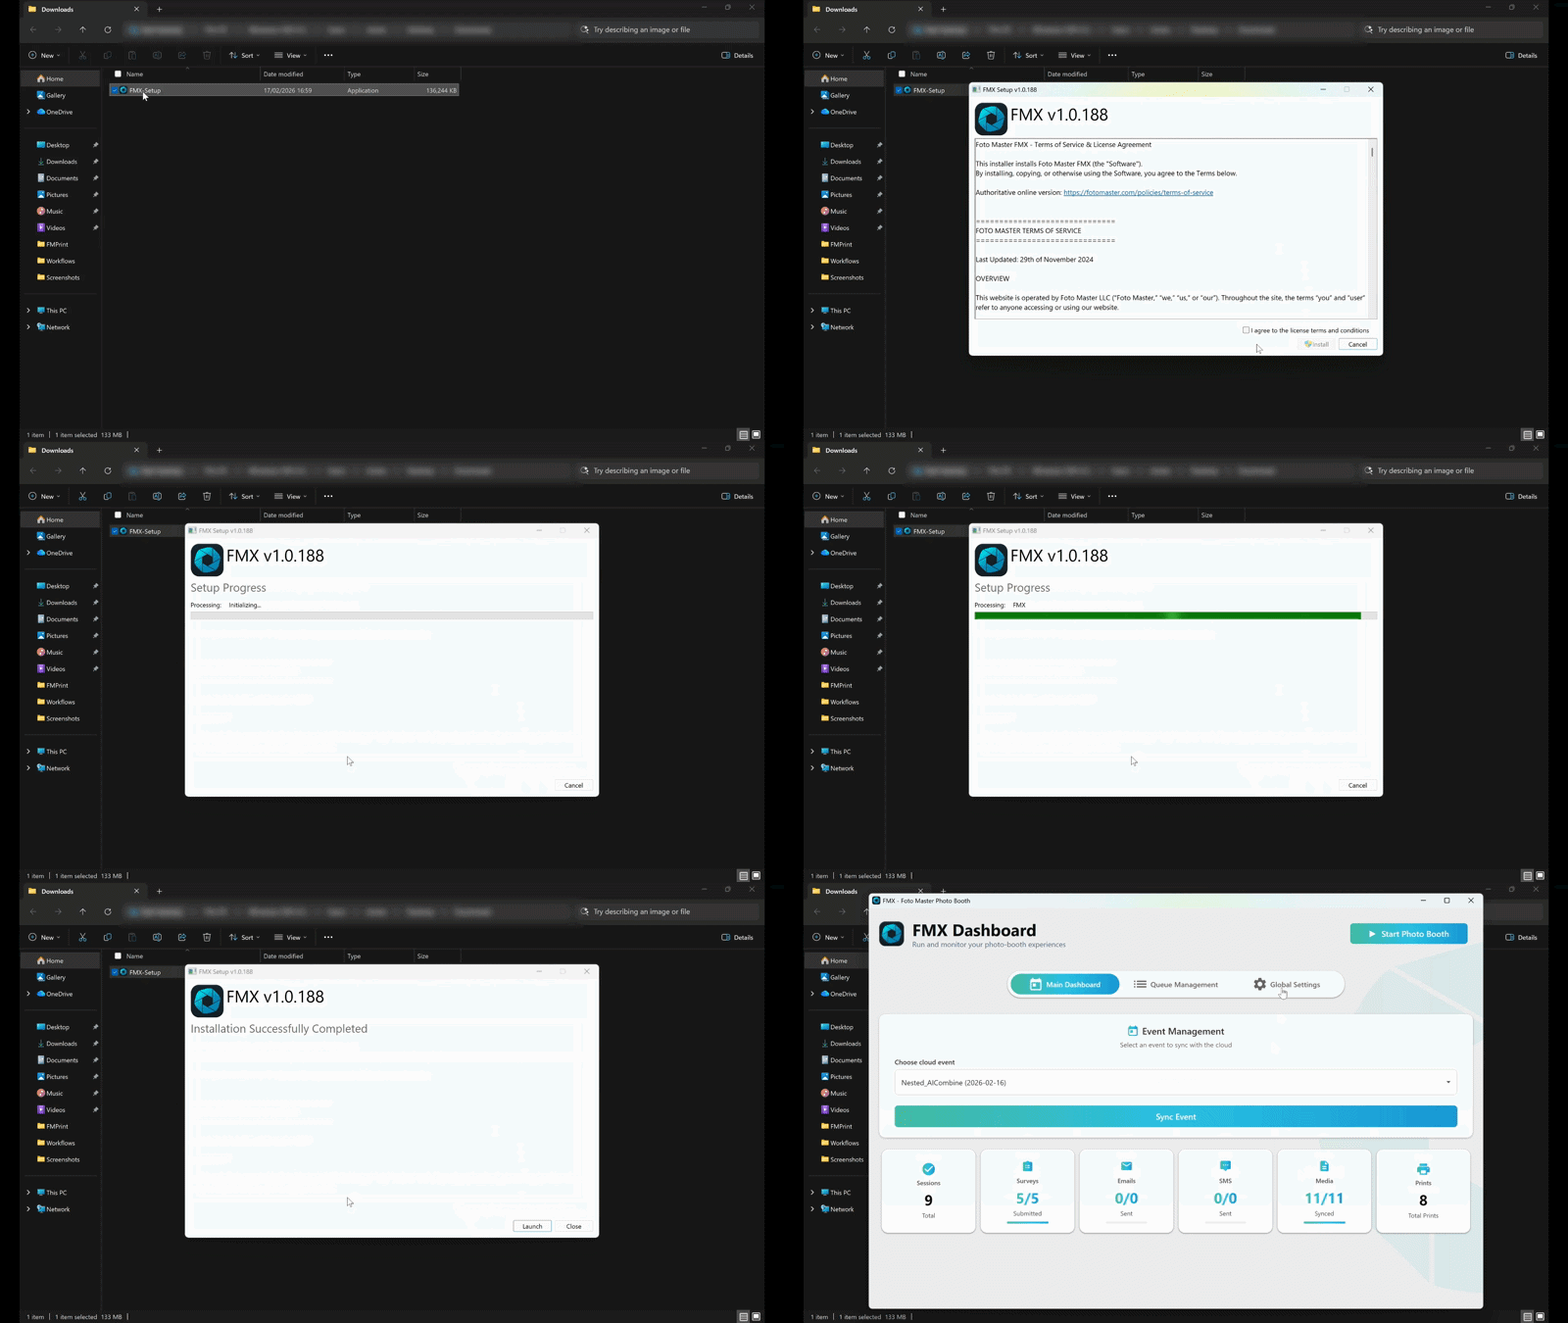
- Open the extracted folder and double-click FMX-Setup.exe
- If Windows SmartScreen appears: click More info → Run anyway
- If a UAC prompt appears: click Yes
- Follow the on-screen steps, accept the license agreement, and click Finish
Step 4 — Launch and Log In
- Launch FMX from the Start Menu or desktop shortcut — the login screen appears automatically
- Enter your Foto Master Cloud email and password and click Sign In
- Your FMX license activates automatically on this PC
If you have multiple licenses: a selection screen appears. Pick an available (inactive) license. If all licenses are in use on other machines, deactivate one from the list or go to cloud.fotomaster.com → Account → Licenses to free one, then click Refresh in FMX.
Once signed in, FMX opens to the Main Dashboard showing your events and the Sync button. You are ready to load an event.
Tip: To reset your password, click Forgot password on the FMX login screen. It uses the same credentials as your Foto Master Cloud account. To switch to a different account, go to the About Tab inside FMX and click Sign out / Switch account.
Verification
Installation and login are successful if:
- FMX opens without errors
- Your Cloud account email is visible in the About Tab
- The Main Dashboard is visible with your events and the Sync button
Check About → Version to confirm the correct build is installed.
Installation Troubleshooting
SmartScreen blocked the installer
Click More info → Run anyway, or re-download the ZIP, right-click → Properties → Unblock, extract again, and run FMX-Setup.exe.
Antivirus quarantined or deleted files
Restore the quarantined files if your antivirus allows it. Add an exclusion for the FMX installer folder and the FMX install location, then re-run FMX-Setup.exe.
Installer does not start
Make sure you are running from a local folder (not OneDrive or a network drive). Extract to a new folder such as C:\Downloads\FMX2, right-click FMX-Setup.exe → Run as administrator, then try again. Rebooting the PC first can also help if recent Windows updates are pending.
FMX installs but will not launch
Try right-clicking FMX.exe → Run as administrator once. Allow any Windows Firewall prompts. If upgrading from an older build, uninstall FMX from Windows Settings → Apps first, then reinstall.
For login and license issues after installation, see FMX Login & License Issues.
Was this helpful?
Related articles
FMX for Windows: Customizing Your Experience
Everything at a photo booth event — the overlays, the countdown, the on-screen text, the email guests receive, the gallery they get a link to — is something you control. This guide
FMX for Windows: System Requirements
Before installing FMX on your Windows computer, make sure your system meets the requirements below. Meeting the recommended specifications will ensure smooth performance during eve
Building a FMX Preset From Scratch: Video Tutorial
This video covers the basics of building a workflow and layout in FMX — a good starting point before exploring the individual workflow step articles.
FMX for Windows: Quick Start Guide (Video)
This video walks through setting up your first FMX photo booth event from start to finish — in minutes. It covers logging in, creating a Cloud event, syncing, and going live. A fas
FMX For Windows: Full Software Video Tutorial
This video is a complete walkthrough of FMX for Windows — covering the dashboard, session lifecycle, Select/Sync/Play, camera and printer setup, workflow configuration, and Cloud s