
Using a Different Paper Size
First of all, make sure your printer supports the paper size you want to work with.
1. Change the paper size selection for your printer: Control Panel > Devices and Printers > Right-click on your printer > Printing Preferences > Select the desired paper size.
Note that this process could be a little bit different with each printer.
2. In the FMX layout builder: New Layout > Click the paper size (Make sure your overlay WxH is matching).

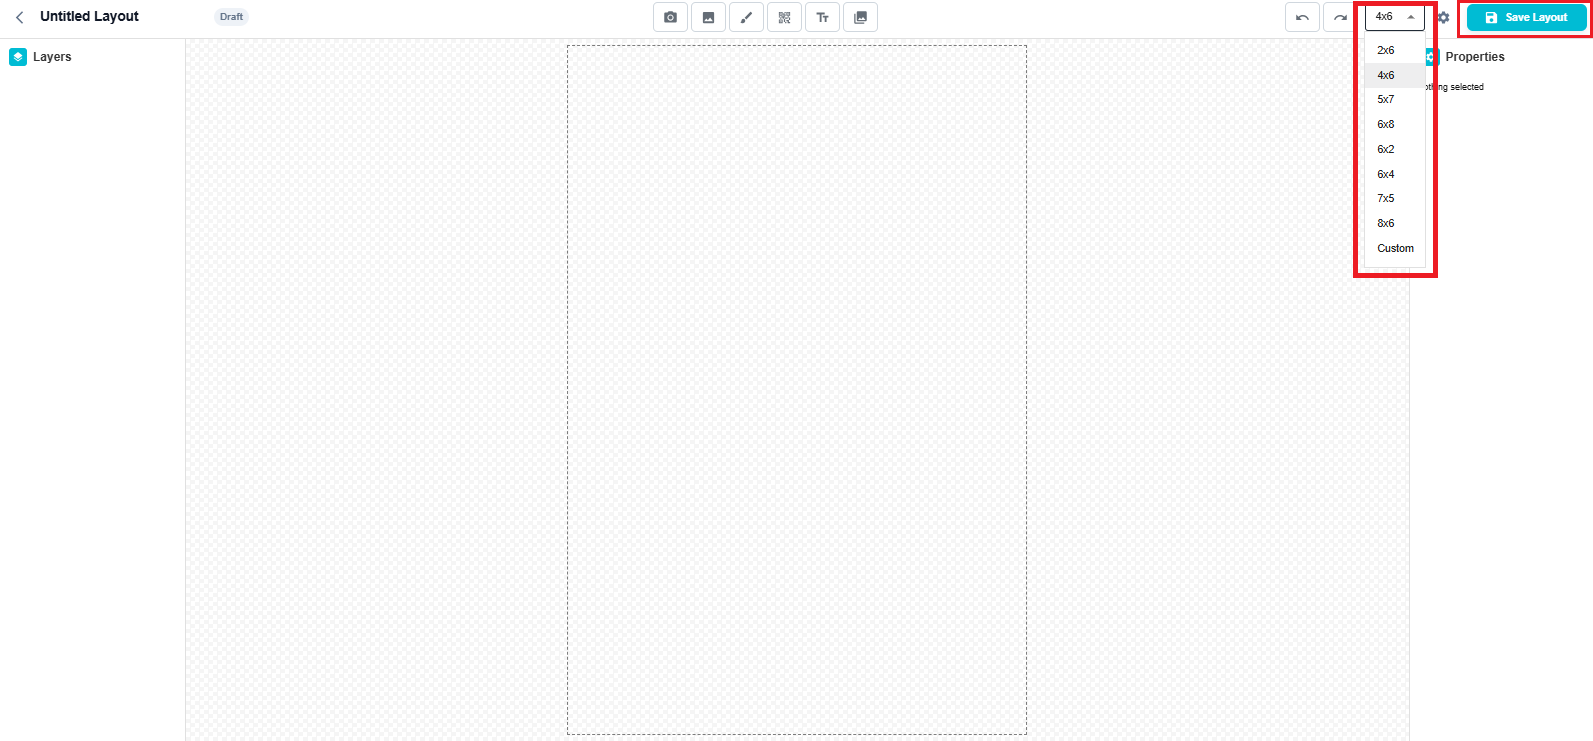
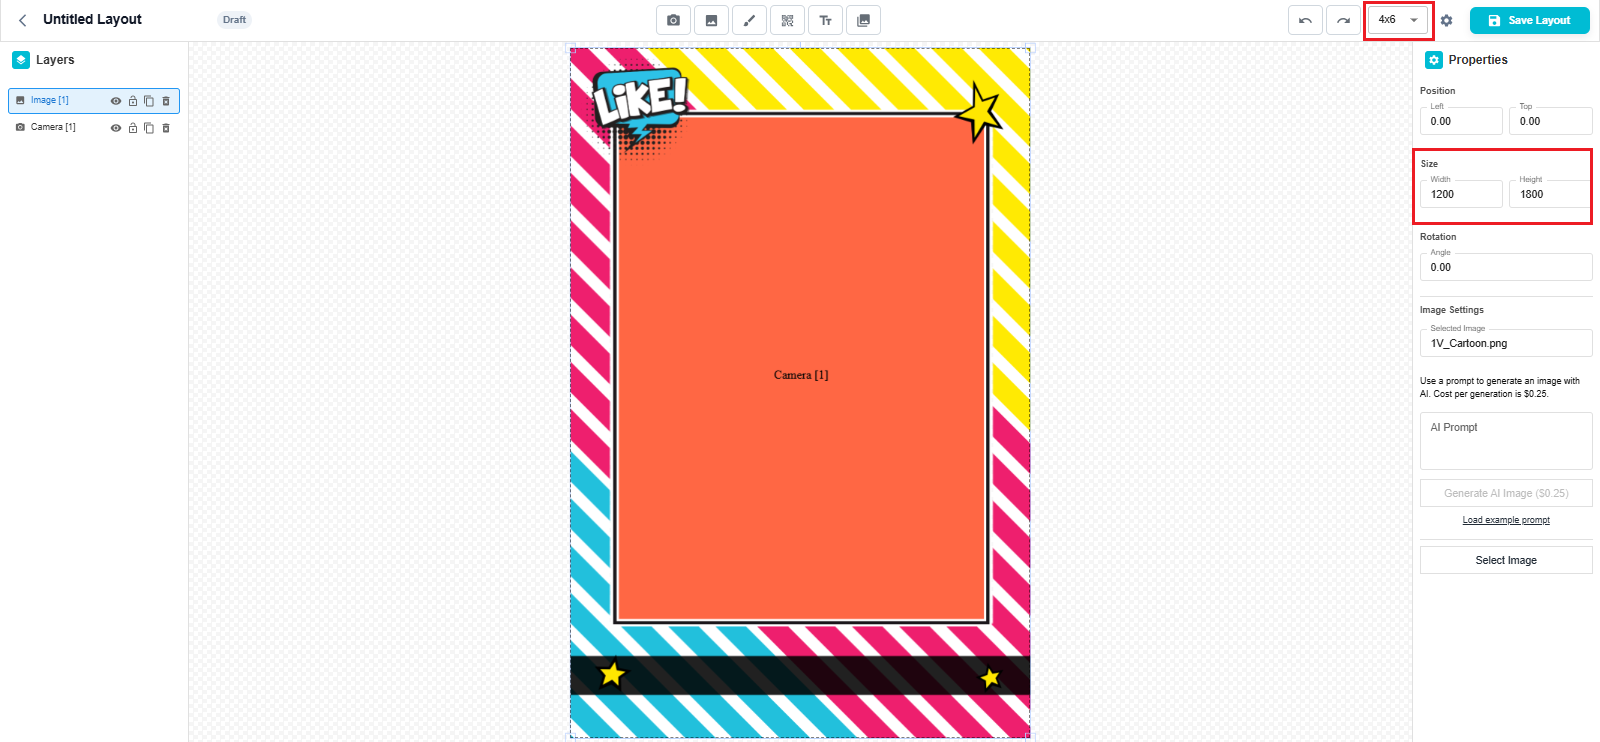
You can use the following chart:
2x6 | 600x1800px |
4x6 | 1200x1800px |
5x7 | 1500x2100px |
6x8 | 1800x2400px |
6x2 | 1800x600 |
6x4 | 1800x1200 |
7x5 | 2100x1500 |
8x6 | 2400x1800 |
Was this helpful?
Related articles
FMX for Windows: Customizing Your Experience
Everything at a photo booth event — the overlays, the countdown, the on-screen text, the email guests receive, the gallery they get a link to — is something you control. This guide
FMX for Windows: System Requirements
Before installing FMX on your Windows computer, make sure your system meets the requirements below. Meeting the recommended specifications will ensure smooth performance during eve
Installing FMX on Windows
When to Use First-time installation of FMX on a Windows PC Reinstalling FMX on the same machine Upgrading FMX to a newer version using the latest installer Requirements Windows 10
Building a FMX Preset From Scratch: Video Tutorial
This video covers the basics of building a workflow and layout in FMX — a good starting point before exploring the individual workflow step articles.
FMX for Windows: Quick Start Guide (Video)
This video walks through setting up your first FMX photo booth event from start to finish — in minutes. It covers logging in, creating a Cloud event, syncing, and going live. A fas