
Complete White Label Setup
White labeling lets you present the entire Foto Master Cloud experience under your own brand. From galleries to emails to SMS messages, every touchpoint with your clients and their guests can carry your identity -- with no references to Foto Master visible. This article walks through all the components of a complete white-label setup.
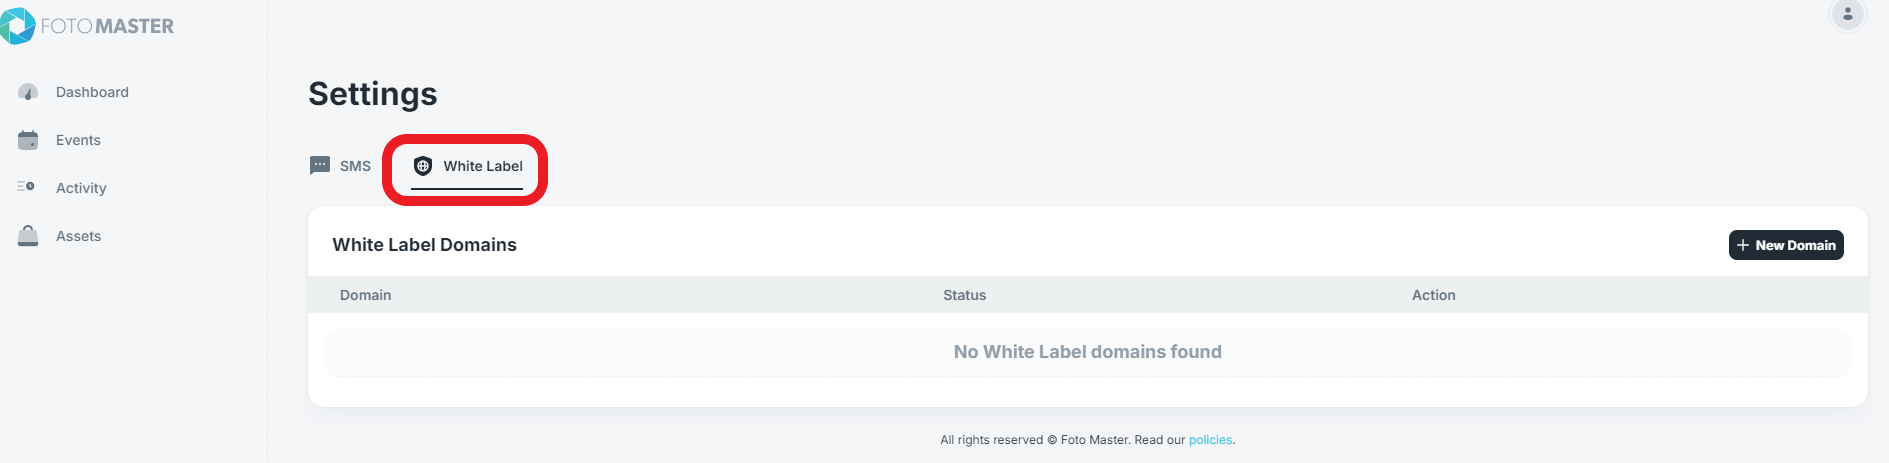
Overview of White Label Capabilities
A fully white-labeled Foto Master Cloud setup includes:
- Branded galleries -- Your logo, colors, and design on all online galleries.
- Branded emails -- Custom email templates with your branding for photo delivery.
- Branded SMS -- Your business name or number as the SMS sender.
- Custom domain -- Galleries hosted on your own domain name.
- No Foto Master references -- All platform branding removed from guest-facing touchpoints.
White labeling is available on the Pro plan. Some branding features (logo and colors) are available on Basic, but full white-label removal of Foto Master branding requires Pro.
Gallery Branding
Customize the look of all your online galleries:
- Go to Settings > Branding > Gallery.
- Configure:
- Logo -- Upload your company logo.
- Colors -- Set your brand's primary, background, text, and accent colors.
- Background -- Choose a solid color or upload a custom background image.
- Company information -- Add your business name, website, and social links to the gallery footer.
These settings apply as defaults to all new events. You can override them per-event for client-specific branding.
For detailed gallery branding instructions, see Branding Your Online Galleries.
Email Template Branding
Customize the emails guests receive when they get their photos:
- Go to Settings > Email Templates.
- Edit your default template or create event-specific templates.
- Apply your branding:
- Logo -- Your logo at the top of every email.
- Colors -- Match email buttons and accents to your brand palette.
- Footer -- Your company name, contact details, and website.
- Sender name -- Configure the "From" name that appears in the guest's inbox.
- Reply-to address -- Set replies to go to your business email.
For detailed email template instructions, see Email Templates.
Tip: The sender name and reply-to address are two of the most impactful white-label changes. When a guest sees your company name in their inbox (instead of "Foto Master Cloud"), it reinforces that this is your service.
SMS Sender Name
Customize the name or number that appears when guests receive SMS messages:
Default
By default, SMS messages are sent from a shared Foto Master platform number.
Custom SMS Branding Options
- Sender Name -- On supported carriers and regions, you can set a sender name (e.g., "YourBooth") that appears instead of a phone number.
- Own Phone Number -- Use your own business phone number through a Twilio or compatible SMS provider integration.
For detailed SMS branding instructions, see Using Your Own Phone Number for SMS.
Custom Domain
Replace the default cloud.fotomaster.com URL with your own domain:
- Go to Settings > Custom Domain.
- Enter your desired subdomain (e.g.,
gallery.yourbrand.com). - Configure the required DNS record (CNAME) with your domain registrar.
- Verify the domain in your Cloud dashboard.
Once active, all gallery URLs use your custom domain. SSL is handled automatically.
For detailed custom domain instructions, see Custom Domains (Pro Plan).
Removing All Foto Master References
The final step in a complete white-label setup is removing all Foto Master branding:
- Go to Settings > Branding > White Label.
- Toggle Remove Foto Master branding to on.
- Review the affected areas:
- Gallery pages -- Foto Master logo and "Powered by" text removed.
- Email footers -- Foto Master references removed.
- Gallery embed widgets -- No Foto Master branding in embedded galleries.
- Save your changes.
After enabling this setting, verify each touchpoint:
- Visit a gallery page and confirm no Foto Master branding appears.
- Send a test email and check for any remaining references.
- Send a test SMS and verify the sender information.
- Check any embedded galleries on your website.
White Label Checklist
Use this checklist to ensure your white-label setup is complete:
- Company logo uploaded and displaying on galleries
- Brand colors configured (primary, background, text, accent)
- Custom background image set (if desired)
- Company information added to gallery footer
- Email template branded with logo, colors, and footer
- Email sender name set to your company name
- Email reply-to address set to your business email
- SMS sender name or custom phone number configured
- Custom domain configured and verified
- Foto Master branding removal toggled on
- All touchpoints tested and verified
Tip: Walk through the entire guest experience from start to finish: scan the QR code, view the gallery, receive an email, receive an SMS, and share on social media. Every step should reflect your brand, not Foto Master's.
Was this helpful?
Related articles
Managing Your Event List
Managing Your Event List If you created an event with settings you would like to reuse, you can duplicate it instead of starting from scratch. This is useful when you want to keep
Managing Your Cloud Plan: Upgrades, Downgrades, Grace Period, and Cancellation
You can manage your Foto Master Cloud subscription at any time from Cloud > Billing. This article explains how upgrades, downgrades, cancellations, and the grace period work. Vi
Event Settings
Every event in Foto Master Cloud has a comprehensive set of configurable settings that control how your booth operates, how photos are shared, and how the gallery is presented. Thi
Customizing Your Online Gallery
Your online gallery is often the first thing guests see after their booth experience, and it's a direct reflection of your brand. Foto Master Cloud gives you full control over the
Sharing Templates Between Cloud Accounts
Foto Master Cloud makes it easy to share workflows, layouts, and video templates with other booth owners, partners, or the Foto Master support team. This is especially useful when: